How to Integrate CMS in Webflow: A Comprehensive Guide

Written by
Diksha Arora
Wordpress Developer
Pardeep Verma
CMS developer
Table of contents
Build with Radial Code
Webflow offers a robust CMS (Content Management System) that allows users to create, manage, and customize dynamic content without writing complex code. Whether you're building blogs, portfolios, or product pages, Webflow’s CMS is an excellent tool for creating a dynamic site that’s easy to manage. In this guide, we'll walk you through integrating CMS in Webflow.
Understanding Webflow’s CMS

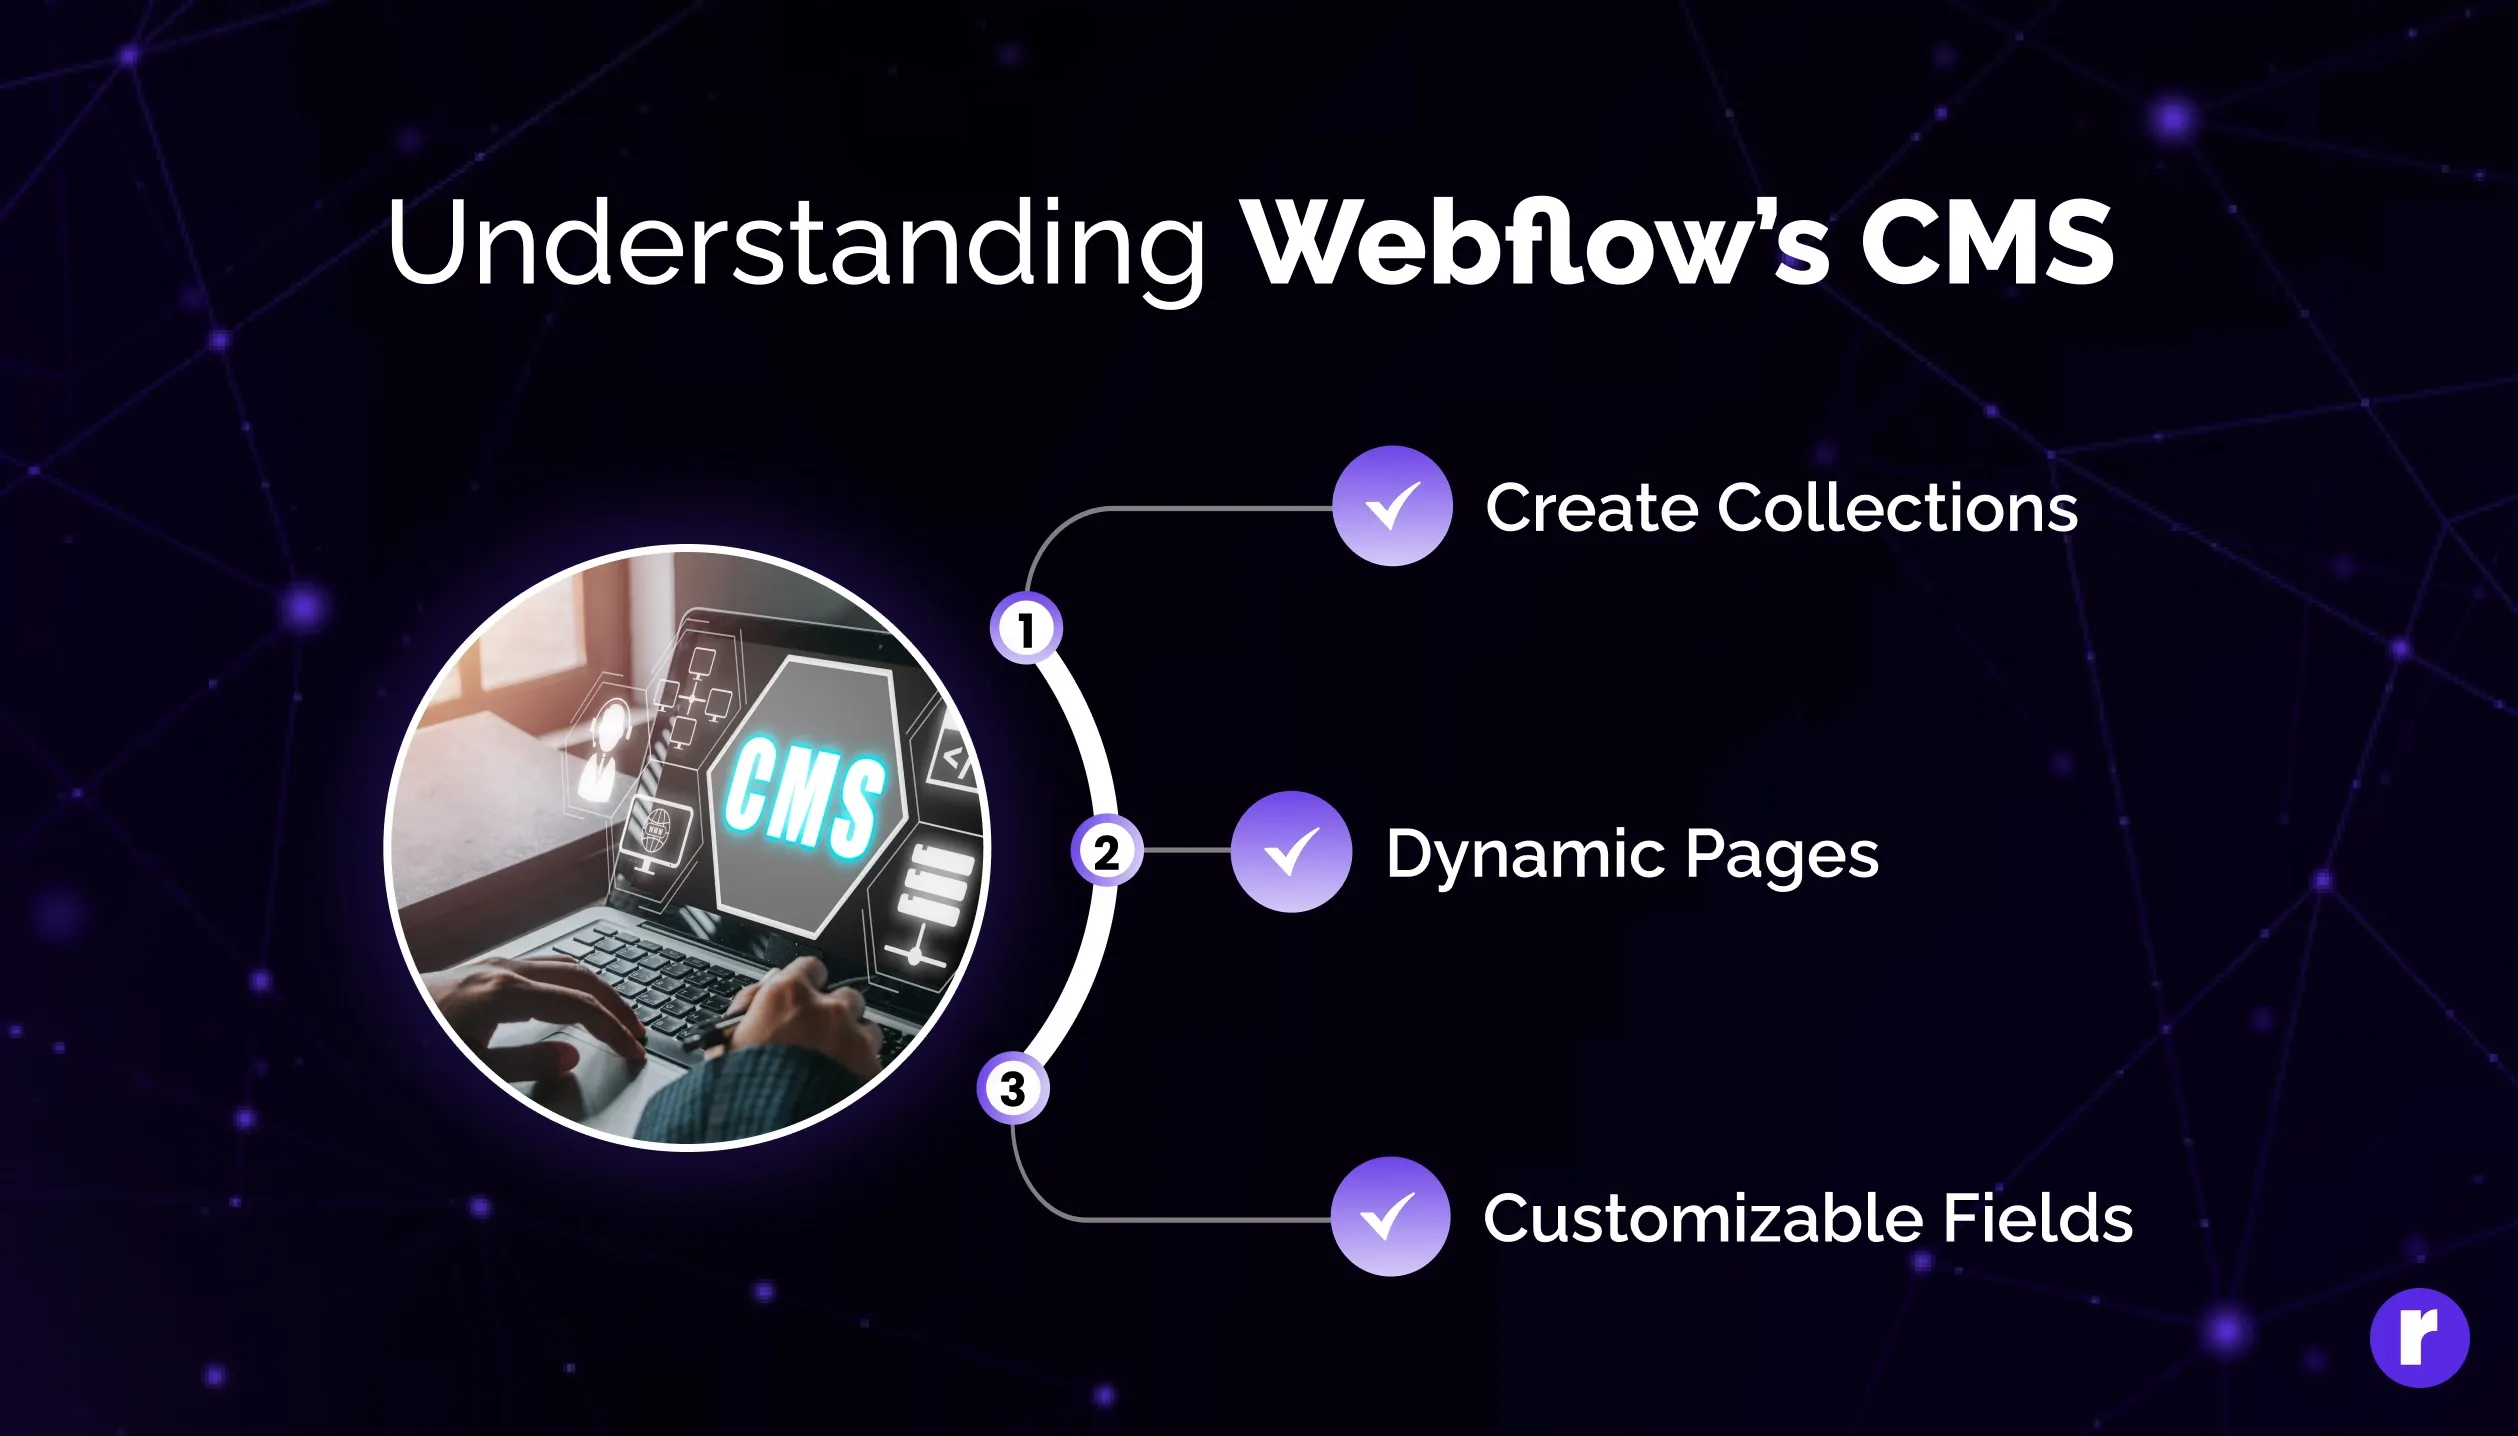
The CMS in Webflow allows you to:
- Create Collections: Organize your content into structured databases.
- Dynamic Pages: Automatically generate pages using the collection items.
- Customizable Fields: Set up custom fields for specific data like text, images, dates, etc.
Setting Up Your First Collection

Step 1: Create a New Collection
- Go to the Webflow dashboard.
- On the left sidebar, click on the CMS Collections tab.
- Click New Collection to start creating your first dynamic collection.
Step 2: Define Collection Fields
Next, define the types of content your collection will hold. Add fields such as:
- Text Field for titles or descriptions.
- Image Field for blog cover images.
- Rich Text for blog content.
Designing Dynamic Pages

Once your collection is set up, you can design dynamic pages using these steps:
Step 1: Create a Dynamic Page
- Go to the Pages tab.
- Under CMS Collections Pages, you’ll see a template page for your collection. This page will design how each item appears on your site.
Step 2: Bind Collection Fields
- Drag elements such as Headings, Images, or Paragraphs onto the page.
- Click on each element, and use the Settings Panel to bind it to the respective collection fields (e.g., binding a Heading to the title field).
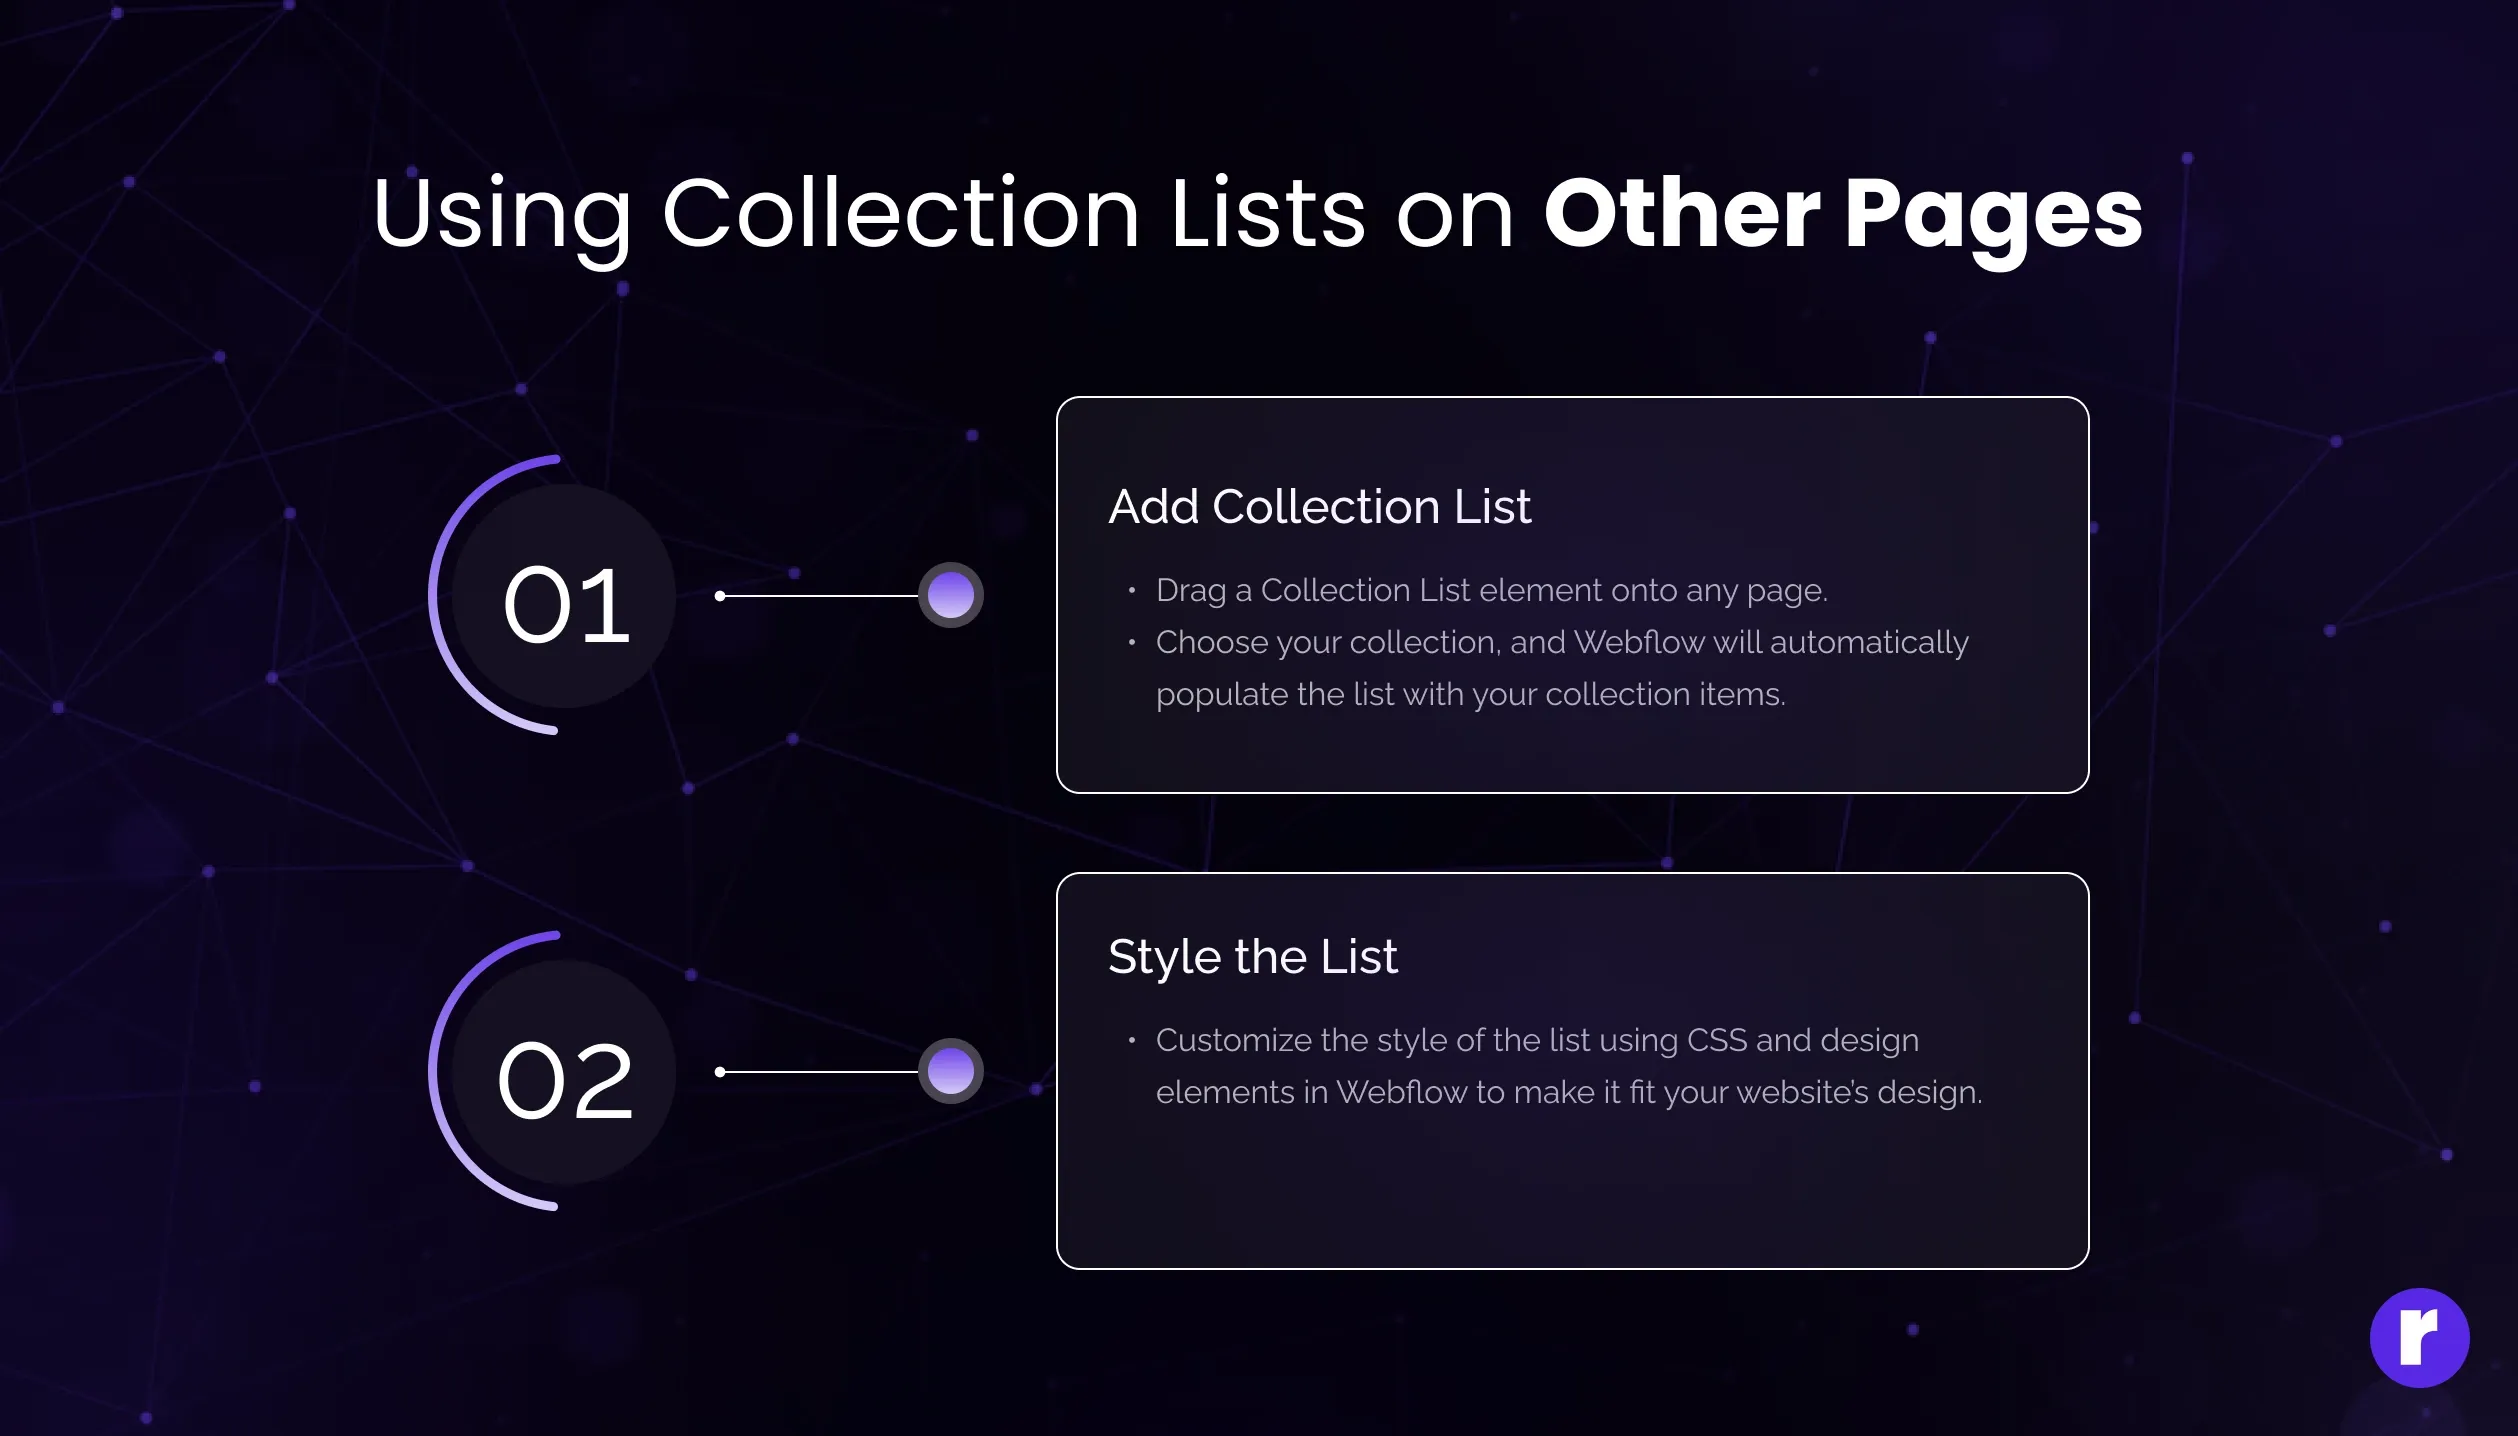
Using Collection Lists on Other Pages

You can also display lists of collection items on any static page using Collection Lists.
Step 1: Add Collection List
- Drag a Collection List element onto any page.
- Choose your collection, and Webflow will automatically populate the list with your collection items.
Step 2: Style the List
- Customize the style of the list using CSS and design elements in Webflow to make it fit your website’s design.
Publishing and Managing Content

Step 1: Publish Your Site
- Once everything is set up, click Publish to push your CMS content live. Webflow will generate pages for each item in your collection.
Step 2: Updating Collections
- To update any collection item, return to the CMS panel, modify the fields, and republish the site. Webflow will automatically update the respective pages.
Want custom dynamic pages for your site? Radial code has you covered with tailored Webflow CMS services.
