Nuxt.js from Scratch: A Beginner’s Guide to Your First Project

Written by
Mohit Bishnoi
Front End Developer

Neha Rai
Front End Developer

Table of contents
Build with Radial Code
Share this
Nuxt.js is a powerful framework that makes building Vue.js applications easier and more enjoyable. Whether you’re a beginner or an experienced developer, getting started with Nuxt.js can be a straightforward process. In this guide, we’ll walk you through setting up Nuxt.js from scratch, with clear steps and practical code snippets.
Why Choose Nuxt.js?
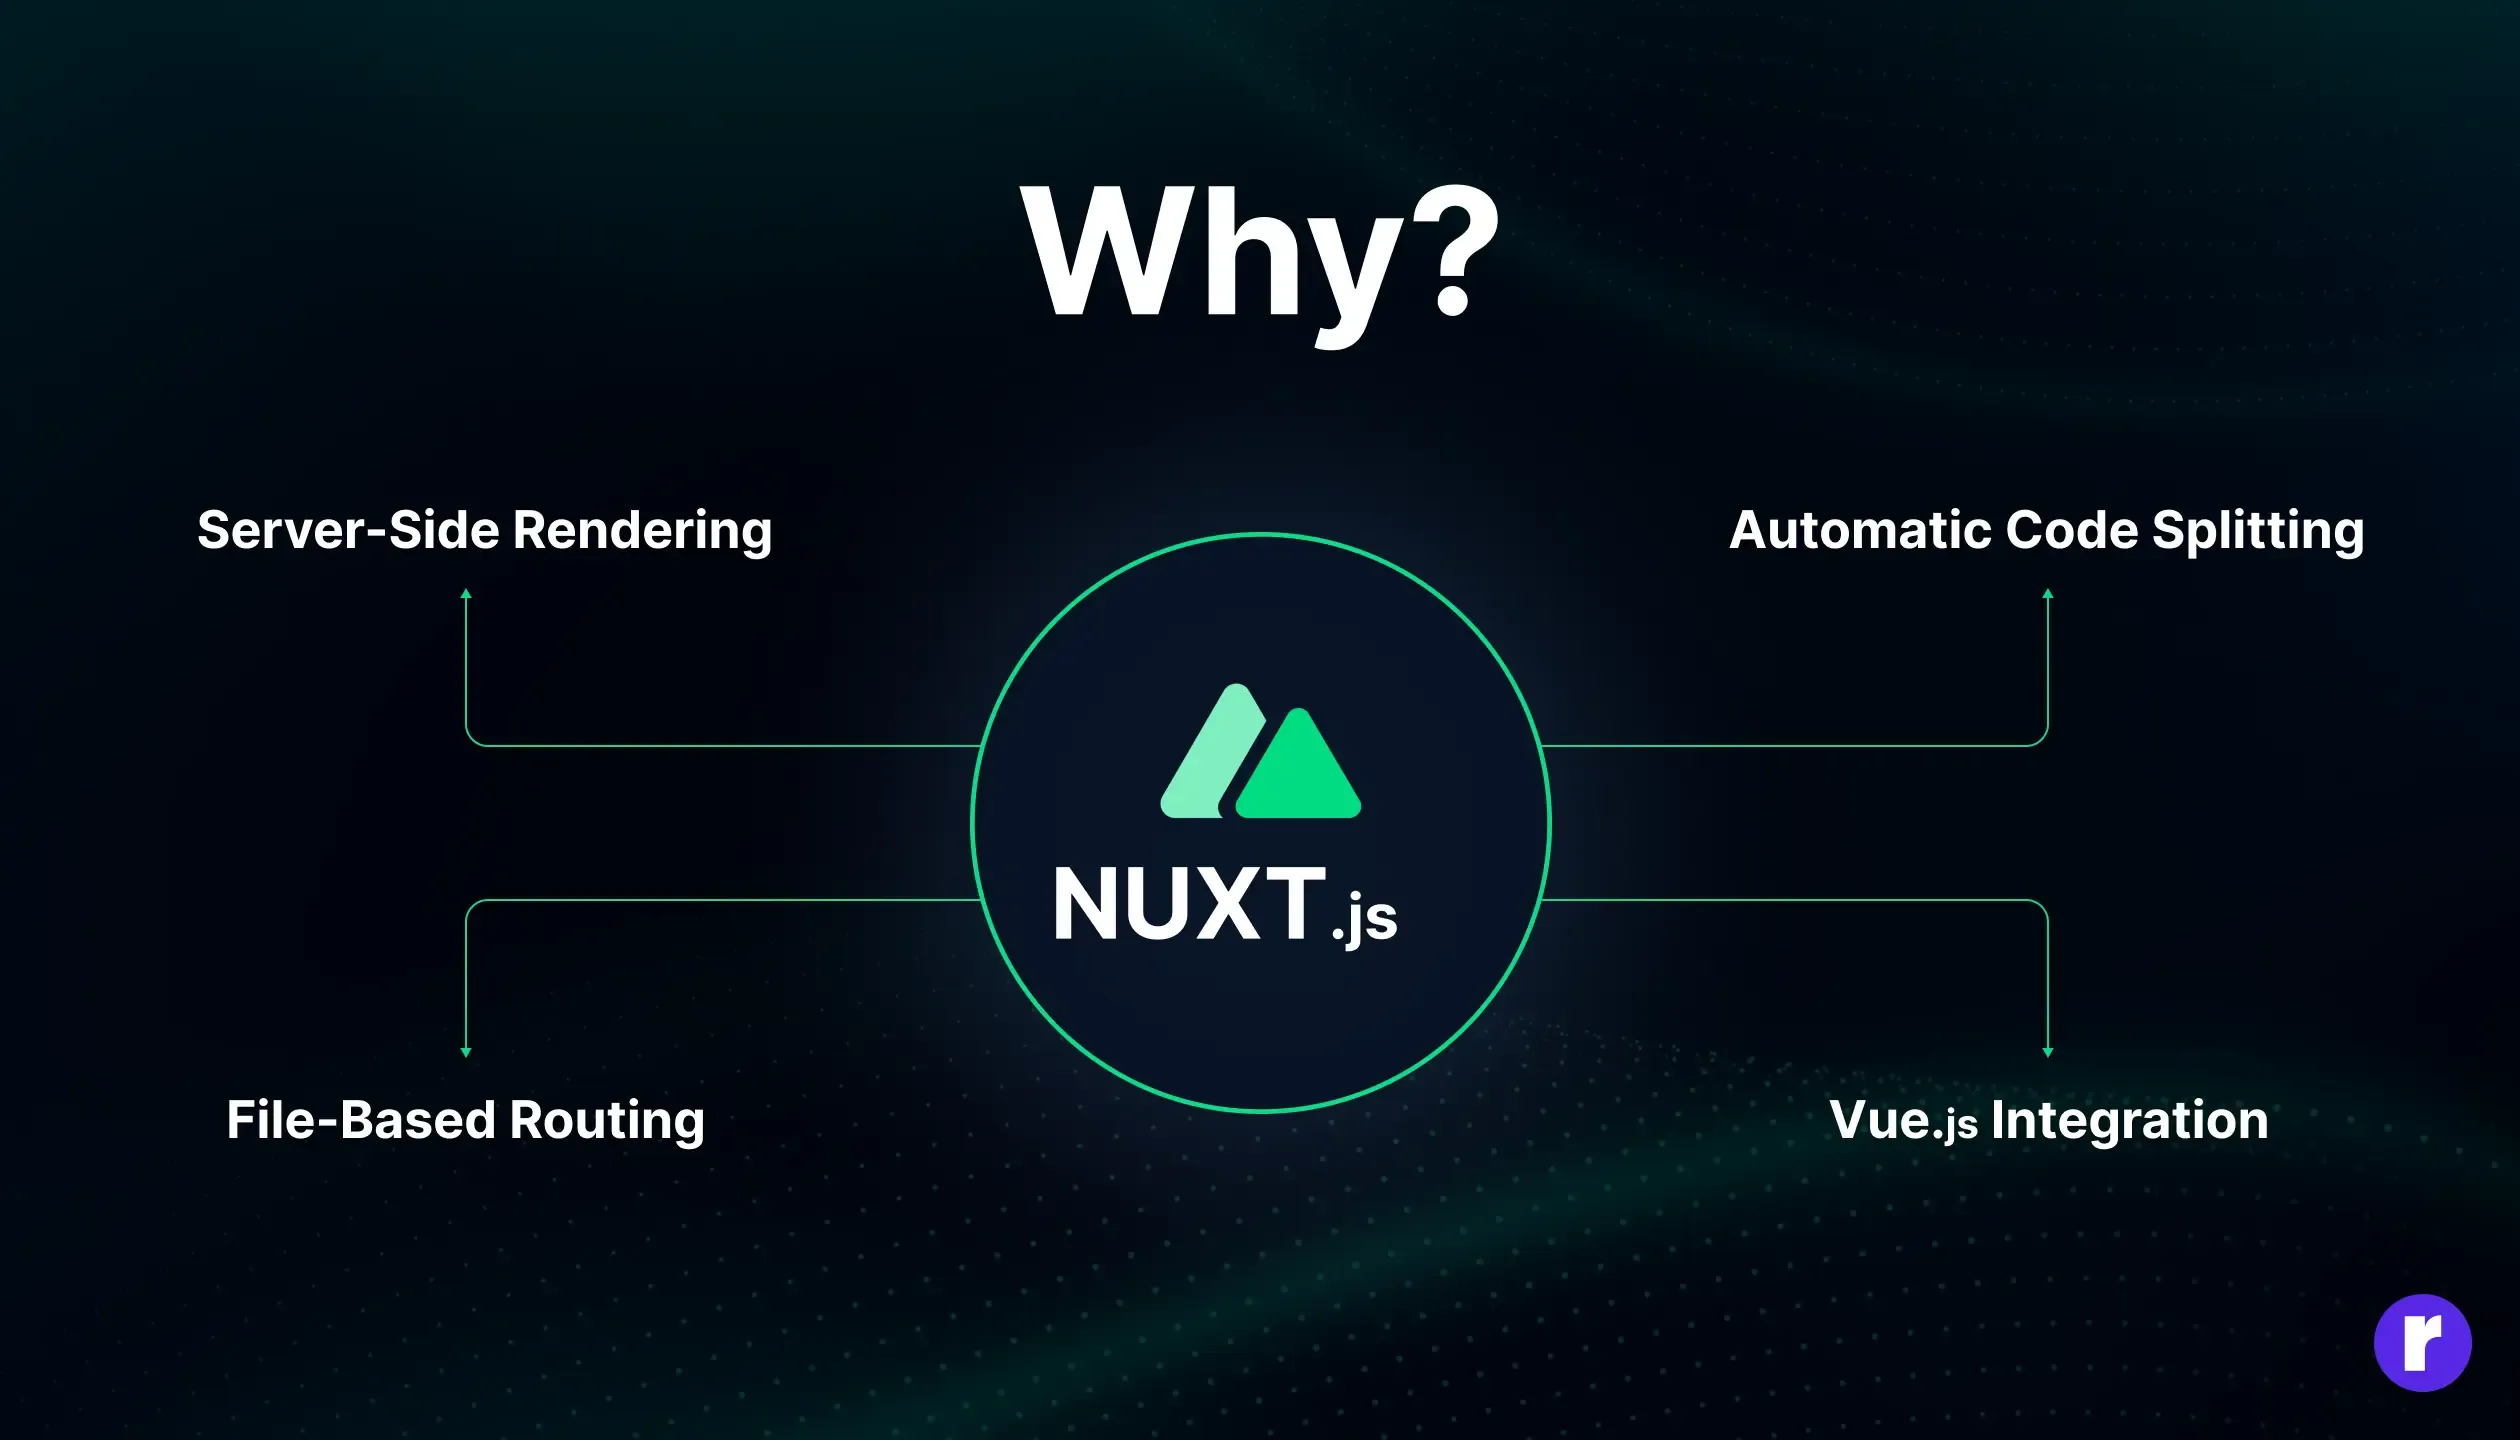
Before diving into the setup, let’s briefly discuss why Nuxt.js is a great choice:
- Server-Side Rendering (SSR): Nuxt.js enables SSR out of the box, improving SEO and performance.
- Automatic Code Splitting: It optimizes your app by splitting code into smaller chunks.
- File-Based Routing: Simplifies routing by using the file system.
- Vue.js Integration: It extends Vue.js functionalities with minimal configuration.
Requirements
To follow this guide, you should have:
- Node.js and npm (or Yarn) installed on your computer.
- Basic knowledge of Vue.js.
Setup Nuxt.js Project
First, let’s set up a new Nuxt.js project. Open your terminal and run the following commands:
npx create-nuxt-app my-nuxt-appYou’ll be prompted to configure your project. You can accept the default settings or customize them according to your preferences. Here’s a typical setup:
- Project name: my-nuxt-app
- Package manager: npm or Yarn
- UI framework: (e.g. None, Vuetify, Bootstrap Vue, Tailwind)
- Custom server framework: (e.g. None, Express)
- Linting tools: (e.g. ESLint, Prettier)
- Testing framework: (e.g. None, Jest, AVA)
- Rendering mode: Universal (SSR) or Single Page App (SPA)
- Deployment target: Static (Static/Jamstack hosting) or Server (Node.js hosting) After answering the prompts, Nuxt.js will create a new directory with your project name and install the necessary dependencies.
After answering the prompts, Nuxt.js will create a new directory with your project name and install the necessary dependencies.
Exploring the Project Structure

Navigate to your project directory:
cd my-nuxt-appHere’s a quick overview of the key directories and files in a Nuxt.js project:
- Pages: Contains Vue components for your routes.
- Components: Stores reusable Vue components.
- Layouts: Contains layout components for different page structures.
- Store: Vuex stores files for state management.
- Nuxt.config.js: Configuration file for Nuxt.js.
Want to learn Nuxt.js? Don't worry, we are here
Running the Development Server

To see your Nuxt.js app in action, start the development server:
npm run dev / yarn run devYou can now visit http://localhost:3000 in your browser to view your running application.
Creating Your First Page

Let’s create a simple page. In the pages directory, create a file named index.vue :
<template>
  <div>
    <h1>Welcome to Nuxt.js</h1>
    <p>Your journey with Nuxt.js starts here!</p>
  </div>
</template>
<script>export default {
  // Page-specific data and methods
}
</script>
<style scoped>
h1 {
  color: #42B983;
}
</style>
This file automatically creates a route at the root URL (/). Nuxt.js uses file-based routing, so any .vuefile inside the pages directory will become a route.
Adding a Component
To make your app more interactive, let’s add a new component. Create a file named MyComponent.vuein the componentsdirectory:
<template>
  <div>
    <button @click="showMessage">Click me</button>
    <p v-if="message">{{ message }}</p>
  </div>
</template>
<script>
export default {
  data() {
    return {
      message: "",
    };
  },
  methods: {
    showMessage() {
      this.message = "Hello from MyComponent!";
    },
  },
};
</script>
<style scoped>
button {
  background-color: #42b983;
  color: white;
  border: none;
  padding: 10px;
  border-radius: 5px;
}
</style>
To use this component in your index.vuepage, import it and include it in the template:
<template><div>
   <h1>Welcome to Nuxt.js</h1>
   <p>Your journey with Nuxt.js starts here!</p>
<MyComponent />
</div>
</template>
<script>
import MyComponent from '~/components/MyComponent.vue'
export default {
  components: {
    MyComponent
  }
}
</script>
<style scoped>
h1 {
  color: #42b983;
}
</style>
export default {
  data() {
    return {
      message: "",
    };
  },
  methods: {
    showMessage() {
      this.message = "Hello from MyComponent!";
    },
  },
};
</script>
<style scoped>
button {
  background-color: #42b983;
  color: white;
  border: none;
  padding: 10px;
  border-radius: 5px;
}
</style>
Building and Deploying

To build your project for production, run:
npm run buildYou can deploy your Nuxt.js app to various hosting providers, including Vercel, Netlify, and traditional VPS servers.
Conclusion
Setting up a Nuxt.js project is a straightforward process that can be accomplished with a few commands. By following this guide, you’ve learned how to create a basic Nuxt.js application, add components, and prepare your app for deployment. Nuxt.js simplifies many aspects of Vue.js development, making it a powerful choice for building modern web applications